
How to add a tool changer to your cnc?
TonZaMaking
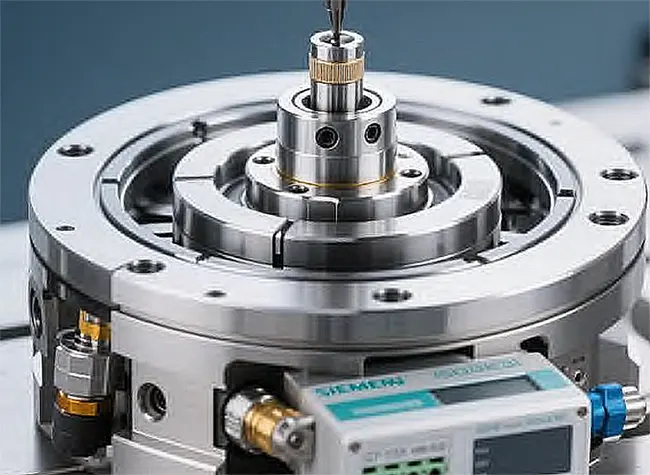
How to Add a Tool Changer to Your CNC
Tool changers are essential components in modern CNC machines, allowing for increased efficiency and automation in the manufacturing process.
Introduction to Tool Changers
Before delving into the process of adding a tool changer to your CNC machine, it is crucial to understand the significance of this equipment.
Tool changers enable automatic switching of tools during the machining process, eliminating the need for manual intervention and reducing downtime.
This results in enhanced productivity and precision, making tool changers indispensable in the manufacturing industry.
Choosing the Right Tool Changer
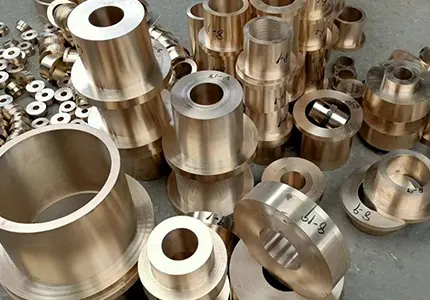
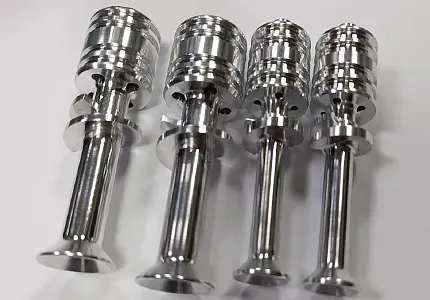
When selecting a tool changer for your CNC machine, consider factors such as tool capacity, compatibility with your CNC system, and ease of integration. Determine the types of tools you commonly use and opt for a tool changer that can accommodate them efficiently.
Additionally, ensure that the tool changer is compatible with your CNC machine’s control system to avoid compatibility issues.
Preparing Your CNC Machine
Prior to installing a tool changer, it is essential to prepare your CNC machine adequately. This may involve making modifications to the machine’s structure or control system to accommodate the tool changer.
Consult with the manufacturer or a professional technician to determine the necessary changes and ensure that your CNC machine is ready for the installation process.
Installation Process
The installation of a tool changer involves several steps, starting with mounting the tool changer on your CNC machine.
Position the tool changer in a convenient location that allows for easy access to the tools. Connect the tool changer to the CNC machine’s control system using the provided cables and make the necessary electrical connections.
Next, calibrate the tool changer to ensure smooth operation during tool changes. This may involve setting tool offsets, defining tool change positions, and testing the tool changer’s functionality.
Consult the user manual or seek assistance from a professional technician to calibrate the tool changer accurately.
Programming the Tool Changer
Once the tool changer is installed and calibrated, it is essential to program the CNC machine to utilize the tool changer effectively.
This involves creating tool change commands in the CNC program, specifying the tool numbers and positions in the tool changer. Test the tool changer’s programming by running a sample program and observing the tool change process.
Testing and Optimization
After programming the tool changer, conduct thorough testing to ensure that it functions correctly and without errors.
Verify that the tool changer switches tools accurately and efficiently during machining operations. Make any necessary adjustments to optimize the tool changer’s performance, such as adjusting tool change speeds or positions.
Conclusion
Adding a tool changer to your CNC machine can significantly enhance your manufacturing process by increasing efficiency and productivity.
By following the steps outlined in this article, engineers with a manufacturing background can successfully integrate a tool changer into their CNC machines.
Remember to choose the right tool changer, prepare your CNC machine, install the tool changer properly, program it effectively, and conduct thorough testing to optimize its performance.


