
How to upload solidworks files onto CNC CAM?
TonZaMaking
Introduction
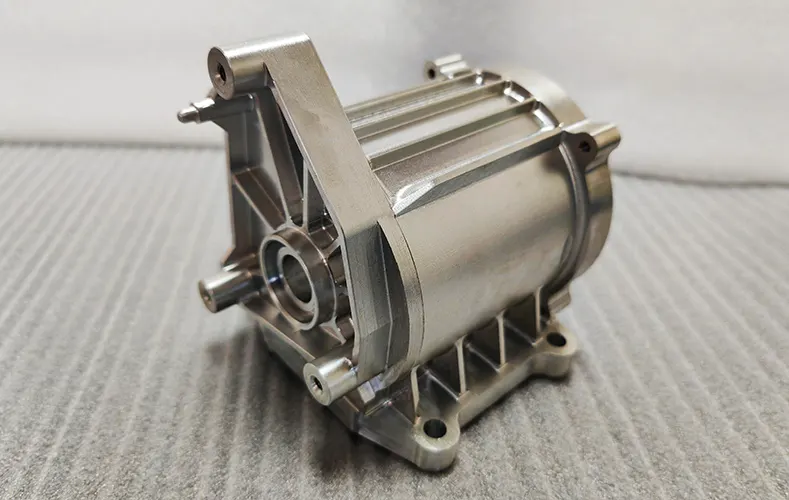
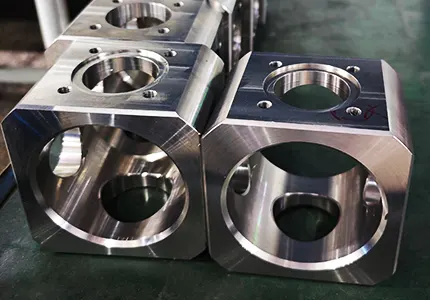
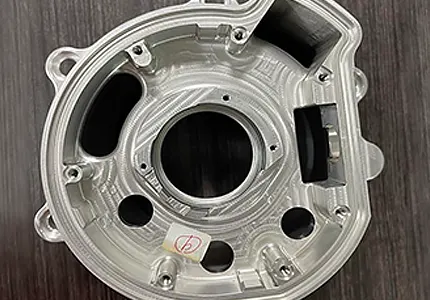
When it comes to manufacturing complex parts with precision and accuracy, CNC (Computer Numerical Control) machines play a crucial role.
These machines rely on CAD (Computer-Aided Design) files to create the desired components.
Solidworks is a popular CAD software used by engineers and designers to create intricate 3D models. In this article, we will discuss the process of uploading Solidworks files onto CNC CAM software in order to generate toolpaths for machining.
Step 1: Exporting Solidworks File
The first step in uploading Solidworks files onto CNC CAM software is to export the CAD model in a compatible file format. The most common file formats used in CNC machining are IGES (.igs) and STEP (.stp). To export your Solidworks file, follow these steps:
- Open your Solidworks file.
- Go to File > Save As.
- Choose the file format as IGES (.igs) or STEP (.stp).
- Save the file to your desired location.
Step 2: Importing File into CAM Software
Once you have exported the Solidworks file in the appropriate format, the next step is to import it into the CAM (Computer-Aided Manufacturing) software. CAM software is used to generate toolpaths for machining based on the 3D model. Here is how you can import the file into CAM software:
- Open your CAM software (e.g., Mastercam, Fusion 360).
- Go to File > Import and select the IGES or STEP file you exported from Solidworks.
- Adjust the units and scale of the model as needed.
- Click on Import to bring the Solidworks file into the CAM software.
Step 3: Creating Toolpaths
Once the Solidworks file is imported into the CAM software, the next step is to create toolpaths for machining. Toolpaths are the routes that the cutting tool will follow to shape the part according to the 3D model. Here are the steps to create toolpaths:
- Select the appropriate cutting tools based on the material and geometry of the part.
- Define the machining operations such as roughing, finishing, drilling, etc.
- Set the cutting parameters including spindle speed, feed rate, and depth of cut.
- Generate the toolpaths using the CAM software’s toolpath generation tools.
Step 4: Simulating Machining Process
Before sending the toolpaths to the CNC machine for machining, it is important to simulate the machining process to ensure that everything is set up correctly. The simulation allows you to visualize the toolpath movement and detect any potential errors. Follow these steps to simulate the machining process:
- Run the simulation feature in the CAM software.
- Check for any collisions or toolpath issues.
- Verify the machining process to ensure it matches the desired outcome.
- Make any necessary adjustments before proceeding to the next step.
Step 5: Post-Processing
Once you have verified the toolpaths through simulation, the final step is to post-process the toolpaths for the specific CNC machine you will be using.
Post-processing involves converting the toolpaths into a format that is understandable by the CNC machine controller. Here’s how you can post-process the toolpaths:
- Select the post-processor that matches your CNC machine from the CAM software.
- Apply the post-processor to generate the G-code for the CNC machine.
- Save the G-code to a USB drive or directly transfer it to the CNC machine.
- Load the G-code into the CNC machine controller and start the machining process.
Conclusion
Uploading Solidworks files onto CNC CAM software is a crucial step in the manufacturing process. By following the steps outlined in this article, you can efficiently generate toolpaths for machining complex parts with precision and accuracy.
Remember to export the Solidworks file in a compatible format, import it into the CAM software, create toolpaths, simulate the machining process, and post-process the toolpaths for the CNC machine.
With the right tools and techniques, you can optimize the manufacturing process and achieve high-quality results.


