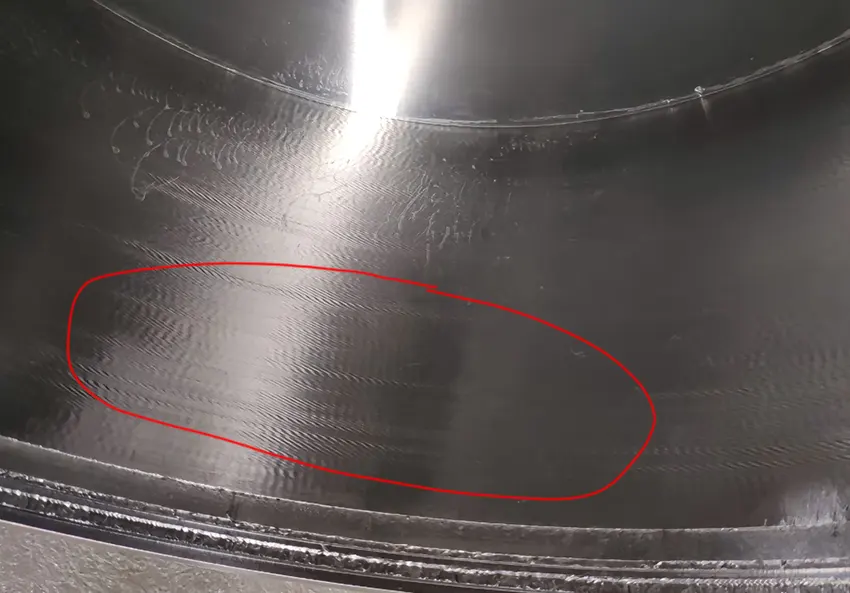
CNC machine tools in the process of machining the workpiece, sometimes appear on the surface of the workpiece tool lines, tool marks and other phenomena.
Not only to affect the surface finish of the workpiece more on the processing data caused by measurement errors.
How to effectively eliminate these two kinds of scenes needs to be analyzed from both the mechanical and electrical process points of view, step by step.
First of all, it is necessary to determine whether it is a regular vibration pattern. Then, investigate the cause of the vibration pattern once it appears.
Ultimately, the goal is to find an effective solution to eliminate the vibration pattern. This ensures that the machined workpieces achieve a higher degree of precision. It also helps avoid the creation of defective parts that could result in waste.
Tool pattern processing method
When the CNC machine tool processing workpiece surface tool pattern, there will be regular tool pattern and irregular tool pattern, as shown in Figure:.
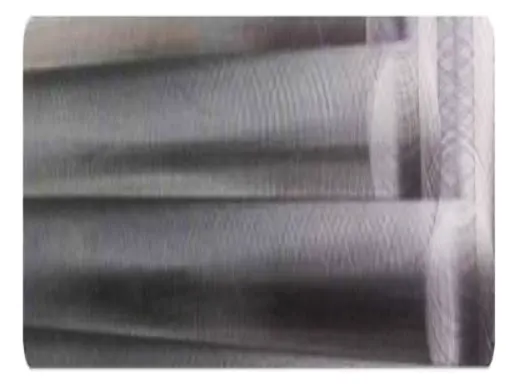
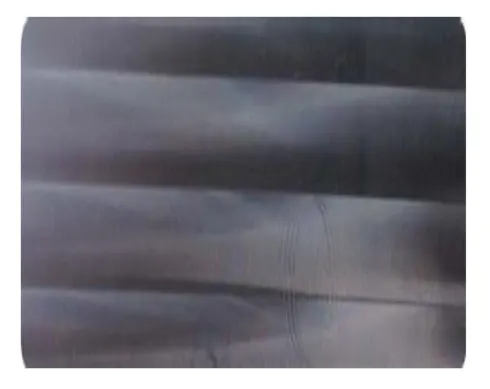
Generally, check according to the following process steps.

Processing method of receiving tool marks
CNC machine tools in the process of machining the workpiece, will also appear on the surface of the workpiece, such as tool marks, which is divided into step marks, into the tool marks, corner marks, as shown in Figure.
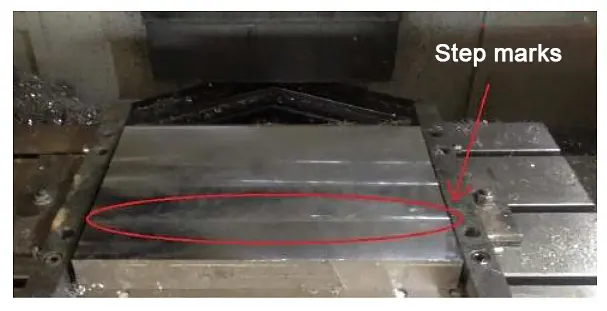
Step marks: in plane machining, servo axis round-trip movement or unidirectional feeding will appear step phenomenon.
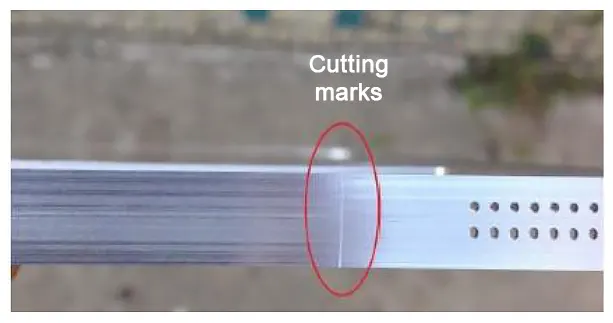
Entry mark: When the tool is cutting, it leaves a slight mark in the entry or exit position.
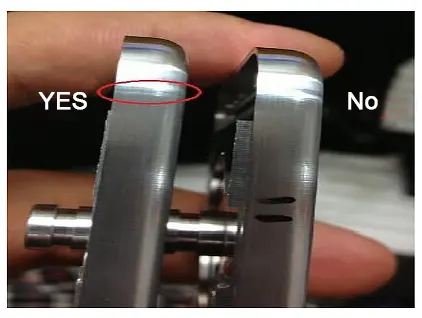
Corner marks: When machining the side, straight line into the corner, or corner out of a straight line there are slight cutter marks.
Generally check according to the following process steps.
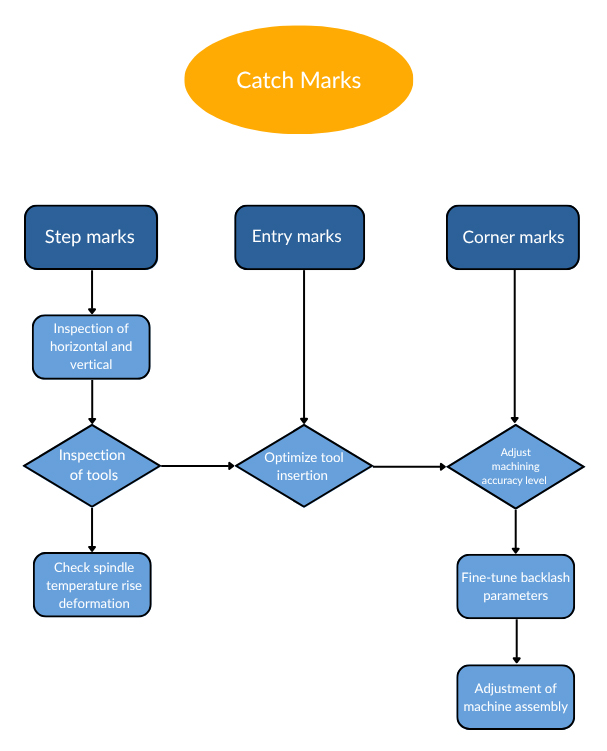
Electrical parameters debugging processing methods
In addition to the mechanical point of view to study the CNC machine tool processing surface tool lines, tool marks and other phenomena, but also from the electrical point of view of such problems to be investigated.
Such as the use of FANUC system SVGUIDE software can effectively control the adjustment parameters, such as compensation torque, change acceleration and backlash acceleration and other parameters; improve the machine tool gain, thereby eliminating machining errors, improve machining surface finish.
Summary
Only mechanical and electrical aspects of the combination of methods to analyze the cause of the failure, in order to fundamentally solve similar related problems, and to improve the processing of machine tools operating conditions, to provide effective technical process support.
FAQ
What causes tool marks and chatter lines on CNC machined surfaces?
Tool marks and chatter lines can result from both mechanical and electrical factors. Common causes include machine vibrations, improper tool entry or exit, servo axis inaccuracies, and poor parameter tuning. These marks affect surface finish and measurement accuracy.
What is the difference between regular and irregular tool marks in CNC machining?
Regular tool marks are typically caused by consistent machine vibrations or harmonic motion during cutting, forming predictable patterns. Irregular tool marks occur sporadically due to unstable cutting conditions, tool wear, or unexpected axis errors.
How do step marks form during CNC machining?
Step marks usually occur during planar milling when the servo axis performs unidirectional or reciprocating movements. These steps appear due to inconsistencies in feed motion, especially if backlash or acceleration mismatches exist.
What are entry and corner tool marks, and how do they appear?
Entry marks form when the tool enters or exits the workpiece, leaving slight surface indentations. Corner marks emerge when the cutter transitions sharply between straight lines and corners, often due to acceleration lag or insufficient path smoothing.
How can I identify if a tool mark is caused by machine vibration?
To determine if the pattern is vibration-related, observe whether the marks are uniform and periodic. Use vibration analysis tools or perform test cuts under different spindle speeds. Regular patterns often point to mechanical resonance or imbalance.
What mechanical solutions help reduce chatter and tool marks?
Mechanically, you can reduce chatter by tightening spindle bearings, increasing machine stiffness, using shorter tools, optimizing clamping, and selecting proper tool geometries. Tool path optimization also plays a critical role in minimizing tool-induced vibrations.
What role do CNC electrical parameters play in surface quality?
Electrical tuning significantly affects surface finish. Adjusting parameters such as compensation torque, acceleration/deceleration rates, and backlash compensation via control software (e.g., FANUC SVGUIDE) can enhance servo performance and reduce tool marks.
How can software like FANUC SVGUIDE help in reducing tool marks?
FANUC SVGUIDE allows users to fine-tune servo parameters including torque control, gain settings, and backlash compensation. Proper adjustments can stabilize motion, reduce overshoot or lag, and ultimately improve surface finish by minimizing vibration-induced errors.
What inspection steps should be followed to diagnose tool marks?
Start by classifying the type of tool mark (step, entry, corner). Then evaluate spindle condition, tool sharpness, workholding stability, and axis movements. Finally, check servo tuning parameters and monitor any thermal or vibrational irregularities.
Why is it important to address both mechanical and electrical causes of surface defects?
Focusing on only one aspect often leads to incomplete solutions. A combined mechanical-electrical diagnostic approach ensures all potential sources of error are addressed, leading to improved dimensional accuracy, reduced scrap rate, and better overall productivity.

