Guide Design for CNC Machining
Use our guidelines to optimize designs for manufacturability.
General Standards
We follow industry standard ISO 2768 tolerances and provide excellent machining services.
Unless specified otherwise, TONZA manufactures CNC-machined components according to the following standards:
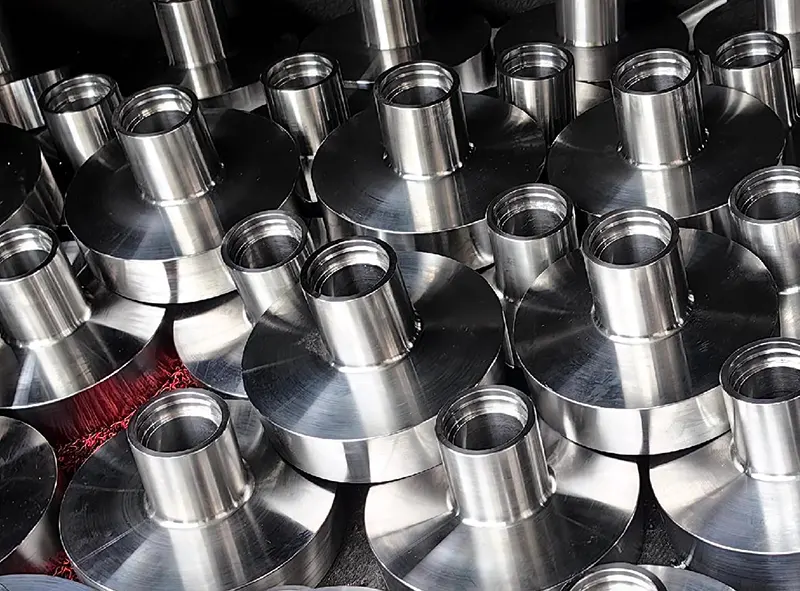
- The default as-machined surface finish roughness is Ra0.2μm or finer, with possible swirl-like patterns from tooling marks.
- Sharp edges will be deburred and broken unless specified as critical and required to remain sharp on the design print.
- Clear or transparent plastics may have a matte appearance or translucent swirl marks on machined surfaces. Bead blasting will create a frosted finish on these materials.
TonZaMaking
General Tolerances
For length dimensions
| Nominal size | Tolerance Dimension(mm) | |||
| Limit( mm) | Fine | Moderate | Crude | Very Crude |
| 0.5-3 | ± 0.05 | ± 0.10 | ± 0.15 | – |
| 3- 6 | ± 0.05 | ± 0.10 | ± 0.20 | ± 0.50 |
| 6- 30 | ± 0.10 | ± 0.20 | ± 0.50 | ± 1.00 |
| 30- 120 | ± 0.15 | ± 0.30 | ± 0.80 | ± 1.50 |
| 120- 400 | ± 0.20 | ± 0.50 | ± 1.20 | ± 2.50 |
| 400- 1000 | ± 0.30 | ± 0.80 | ± 2.00 | ± 4.00 |
| 1000- 2000 | ± 0.50 | ± 1.20 | ± 3.00 | ± 6.00 |
| 2000- 4000 | – | ± 2.00 | ± 4.00 | ± 8.00 |
For angular dimensions
| Nominal size | Tolerance Dimension(mm) | |||
| Limit( mm) | Fine | Moderate | Crude | Very Crude |
| <10 | ± 10′ | ±1°30′ | ± 3° | |
| 10- 50 | ± 30′ | ± 1° | ± 2° | |
| 50- 120 | ± 20′ | ± 30′ | ± 1° | |
| 120- 400 | ± 10′ | ± 15′ | ± 30′ | |
| 400 above | ± 5′ | ± 10′ | ± 20′ | |
For bending radius (radian) and bevel height (bevel angle)
| Nominal size | Tolerance Dimension(mm) | |||
| Limit( mm) | Fine | Moderate | Crude | Very Crude |
| 0.5-3 | ± 0.20 | ± 0.40 | ||
| >3-6 | ± 0.50 | ± 1.00 | ||
| >6 | ± 1.00 | ± 2.00 | ||
Tight Tolerances
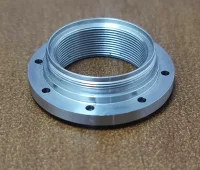
Our tight tolerances: Smaller than ±0.005

Maximum achievable tolerance: ±0.001”
Challenges of Tighter Tolerances:
Cost Impact
- Increased scrap rates
- Need for custom fixturing
- Requirement for specialized measurement tools.
- Longer machining cycles due to slower cutting speeds
- Higher costs and extended lead times
- cost twice as much or more compared to standard tolerance parts
TonZaMaking
Size Limitations
Mill
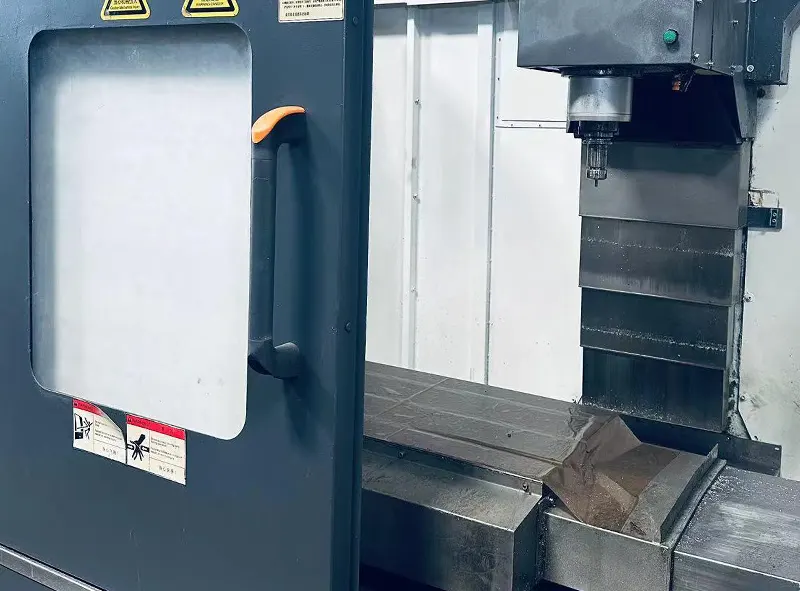
The maximum part size is determined by the machine’s capabilities and the required depth of cut. TONZA can typically mill parts up to 4000 × 1500 × 600 mm. However, the machinable height depends on the specific features and design of each part. If a part exceeds 24” in machinable height, it will require a manual review to assess manufacturability.

Lathe
TONZA can produce turned parts up to 200 mm in diameter and 500 mm in length . In addition to standard 2-axis lathes, our manufacturing facilities utilize advanced equipment such as live tooling systems, multi-spindle machines, and Swiss lathes. These technologies enable the production of lathe parts with milled features and small, delicate details with high precision.
Complexity Part
Avoid unnecessary design that adds costs and wastes time.
Complexity vs. Cost:
Cost & Time Reduction Strategies:
- CNC machining can produce highly complex designs, but simplification can reduce costs and machining time.
- Parts with contoured geometry or multiple machining faces take longer to machine, increasing costs compared to simpler designs requiring fewer setups.
- Small tool cuts for intricate curved surfaces require more time than larger, planar cuts, further raising costs.
- Design parts with on-axis planes whenever possible.
- Avoid unnecessary draft angles and complex contoured shapes.
- Minimize feature variations, such as different internal corner radii and tapped hole sizes, to reduce tool changes.
- Fewer tool changes lead to shorter machining cycles and lower costs.
TonZaMaking

Holes
Although, holes are very common in CNC machining, it doesn’t mean that it’s as simple as that
Best Practices for Designing Holes in CNC Machining
Hole Creation Methods:
- Drilling: The preferred method, using drill bits to quickly and efficiently remove material.
- Helical Milling: Used for larger or non-standard hole sizes with an endmill, but is slower and less efficient than drilling.
Key Considerations for Hole Design:
-
Standard Drill Sizes:
- Use common drill bit sizes to ensure fast and accurate hole creation.
- Non-standard hole sizes may require:
- Custom tooling (expensive).
- Additional machining passes with endmills or reamers (longer cycle times).
- Typical drill sizes follow standard increments, such as:
- Fractions of an inch (e.g., 1/8”, 1/4”).
- Whole millimeter values (e.g., 3 mm, 5 mm).
-
Hole Depth-to-Diameter Ratios:
- The deeper a hole, the more difficult it is to manufacture.
- Challenges of deep holes:
- Tool breakage due to excessive cutting forces.
-
Drill walking (misalignment).
- Chip evacuation issues that can cause poor hole quality.
-
Best Practices:
- Keep hole depth-to-diameter ratios as low as possible.
- Use gun drilling or other specialized techniques for deep, narrow holes.
Other Hole Design Tips
- Avoid partial holes (e.g., holes on an edge), as they are difficult to manufacture. If necessary, ensure at least 75% of the hole remains within the part’s edge.
- Maintain spacing from walls: Keep holes and pockets at least 1/32” (0.030”) away from walls in metal parts. For milled plastic or composite materials, this spacing should be doubled.
- Keep the hole axis perpendicular to the surface. Avoid drilling on sloped or curved surfaces—adding a flat surface at the hole location ensures proper drill alignment.
- Prefer through holes over blind holes whenever possible, as they are easier to machine, ream, and tap.
- If blind holes are required, add 25% extra depth to account for drill points and chip evacuation.
- Avoid hole intersections with cavities, as they can cause manufacturing issues. If unavoidable, position the drill axis center away from the cavity to minimize complications.
Fillets
Avoid unnecessary design that adds costs and wastes time.
 Others:
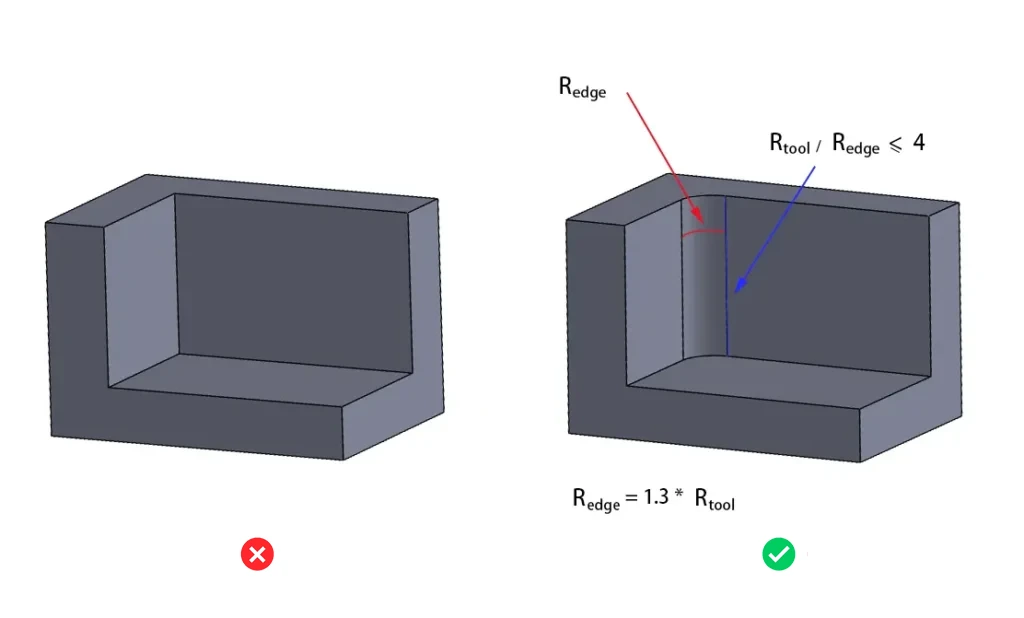
Avoid floor fillets unless necessary, as they are difficult and time-consuming to machine. For smoother machining, keep the floor radius smaller than the wall radius—this allows the same tool to cut efficiently and maintain a seamless transition.
CNC milling cannot produce sharp interior corners due to the round shape of cutting tools. All inside corners will have a machined radius, so designers must plan accordingly.
Best Practices:Why It Matters:
- Use non-standard radii to improve machining flow.
- Keep radii above 1/32” for better efficiency.
- Opt for the largest possible radius to reduce costs.
- Avoid deep, small radii, which increase machining time.
Matching standard tool sizes (e.g., ¼”, ⅛”) causes inefficiencies, as tools may need to stop and pivot, leading to longer machining times and surface defects. Larger radii enable faster cutting with bigger tools, reducing costs and improving quality. Small radii require slow, precise cutting, making parts more expensive.
TonZaMaking
Threads and Tapped Holes
Proper DFM is crucial to prevent weak threads, tool breakage, and misalignment. We optimize design for efficient machining and reliable performance.
-
Limit Thread Length: Threading beyond twice the hole diameter is unnecessary for metals and adds cost due to specialized tooling.
-
Use Inserts for Soft Materials: Threaded inserts improve durability in aluminum and plastics.
-
Opt for Larger Threads: Bigger thread sizes simplify manufacturing.
-
Avoid Small Taps: Threads below M2 risk tool breakage.
-
Stick to Standard Threads: Custom specs require expensive tools.
-
Blind Holes: Leave an unthreaded section (≥ half the hole diameter) for tap lead and chip evacuation. Drill reliefs aren’t needed in 3D models but should be noted in drawings.
-
Quote Accuracy: Specify threads in your quote and attach a drawing with details on thread type, hole size, depth, and blending (e.g., countersinks).
Thickness Wall
Avoid unnecessary design that adds costs and wastes time.
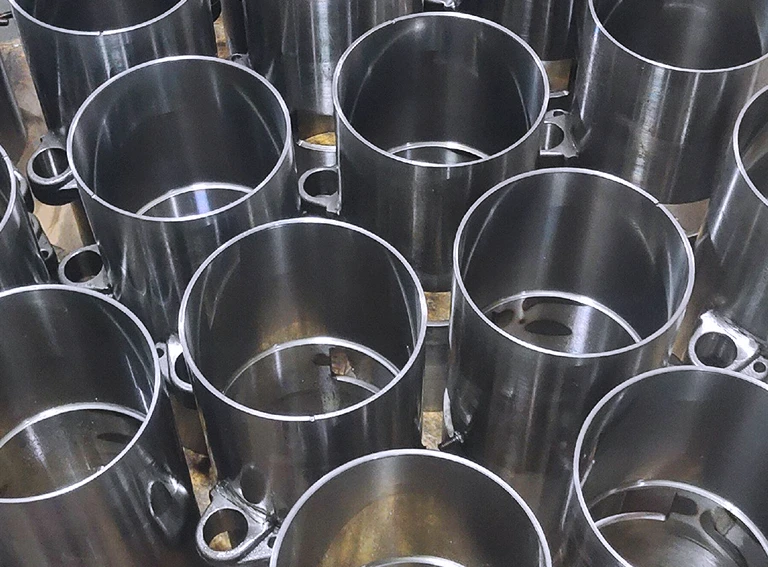
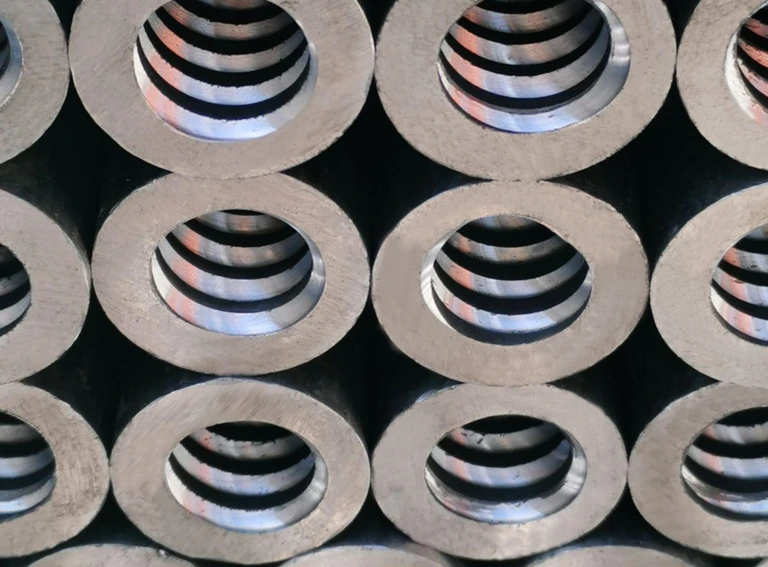
Thin-walled parts typically have a wall thickness-to-size ratio exceeding 1:10. Their definition varies based on design, but they generally feature low mass, high strength-to-weight ratio, structural complexity, and reduced rigidity. Many are non-standard components requiring specialized machining.
Recommended minimum wall thickness is:
- Metal Materials: 0.030” (0.762mm)
- Plastic & Composite Materials: 0.060” (1.52mm)
TonZaMaking
